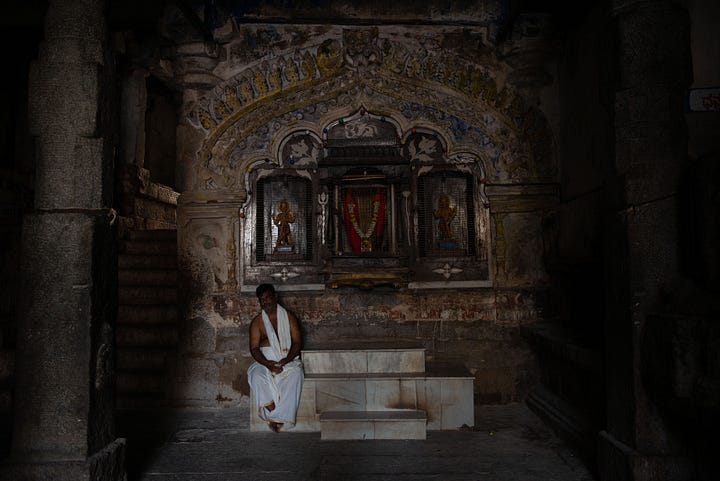
Low light photography has always been a fascinating challenge for photographers. Whether you're capturing the ambiance of a dimly lit street or the intimacy of an indoor setting, shooting in low light requires a combination of technique, creativity, and understanding your equipment. Modern cameras, with their advanced technology, have made this easier, but achieving truly stunning results still requires a deliberate approach.
Here’s a step-by-step guide to mastering low light photography.
1. Embrace Manual Modes for Creative Control
While automatic modes on modern cameras can handle most situations, they often lack the nuance needed for truly artistic images. Manual settings give you full control over the depth of field, shutter speed, and overall image quality. This is crucial for achieving the creative effects that elevate your photography.
2. Avoiding Camera Shake
One of the biggest challenges in low light photography is ensuring your images are sharp and free of blur. Camera shake is a common culprit, especially when using slower shutter speeds.
Shutter Speed: Always set a shutter speed of at least 1/125th of a second to minimize shake. For even sharper results, aim for 1/250th of a second or faster.
Stabilization Tools: Use a tripod or image stabilization features to further reduce the risk of blur.
3. Optimize Aperture Settings
For low light portraits or scenarios where you want a beautifully blurred background, use a wide aperture.
Recommended Apertures: Apertures like f/2.8, f/3.5, or f/4 allow more light to enter the lens, making it easier to capture images in dim environments while achieving a shallow depth of field.
Bokeh Effect: A wide aperture also creates a pleasing bokeh effect, isolating the subject against a soft, out-of-focus background.
4. Adjust ISO Sensibly
ISO sensitivity determines how well your camera can capture light. In low light situations, increasing the ISO helps achieve the correct exposure without over-relying on the shutter speed or aperture.
Modern ISO Ranges: Many cameras now support ISO levels up to 25,600, but there’s often no need to push this limit. A setting between ISO 2000 and ISO 4000 is usually sufficient for most low light conditions.
Noise Management: Higher ISOs can introduce noise, but modern sensors and noise-reduction software make it easier to achieve clean images even at elevated ISO levels.
5. Avoid Overusing Flash
While a flash can brighten up a scene, an on-camera flash often produces flat, unappealing results by eliminating shadows and depth.
Natural Light First: Whenever possible, rely on ambient light to maintain the natural atmosphere of the scene.
External Lighting: If additional light is necessary, consider off-camera lighting setups or portable LED panels to achieve a more dynamic and professional look.
6. Understand the Relationship Between Shutter, Aperture, and ISO
The triangle of shutter speed, aperture, and ISO is the foundation of photography. In low light photography, balancing these three elements is key:
Shutter Speed: Keep it fast enough to avoid blur.
Aperture: Open wide to let in more light.
ISO: Adjust to match the other two settings, but avoid unnecessary noise.


7. Leverage Modern Camera Technology
Today’s cameras are equipped with advanced sensors designed to perform exceptionally in low light conditions. Features like:
Improved Low Light Sensors: Capture more detail in dim environments.
High ISO Performance: Reduce noise even at elevated sensitivity levels.
In-Camera Stabilization: Minimize shake for handheld shots.
Final Thoughts
Low light photography isn’t just about overcoming challenges; it’s about using those challenges to create mood, drama, and artistry in your images. By understanding the principles of light, mastering your camera settings, and practicing with intention, you can transform dimly lit scenes into stunning photographs that capture the essence of the moment.
P.S. I’ve been exploring the art of photography for over 40 years and look forward to sharing my knowledge through upcoming online courses. If you’re passionate about photography and want to learn more, subscribe to my blog for updates and tips to enhance your skills. Let’s capture the beauty of low light together!


Share this post