


📸 How to Capture Sharp and Detailed Landscape Images
Mastering the Essentials of Focus, Stability, and Technique for Professional-Quality Landscapes

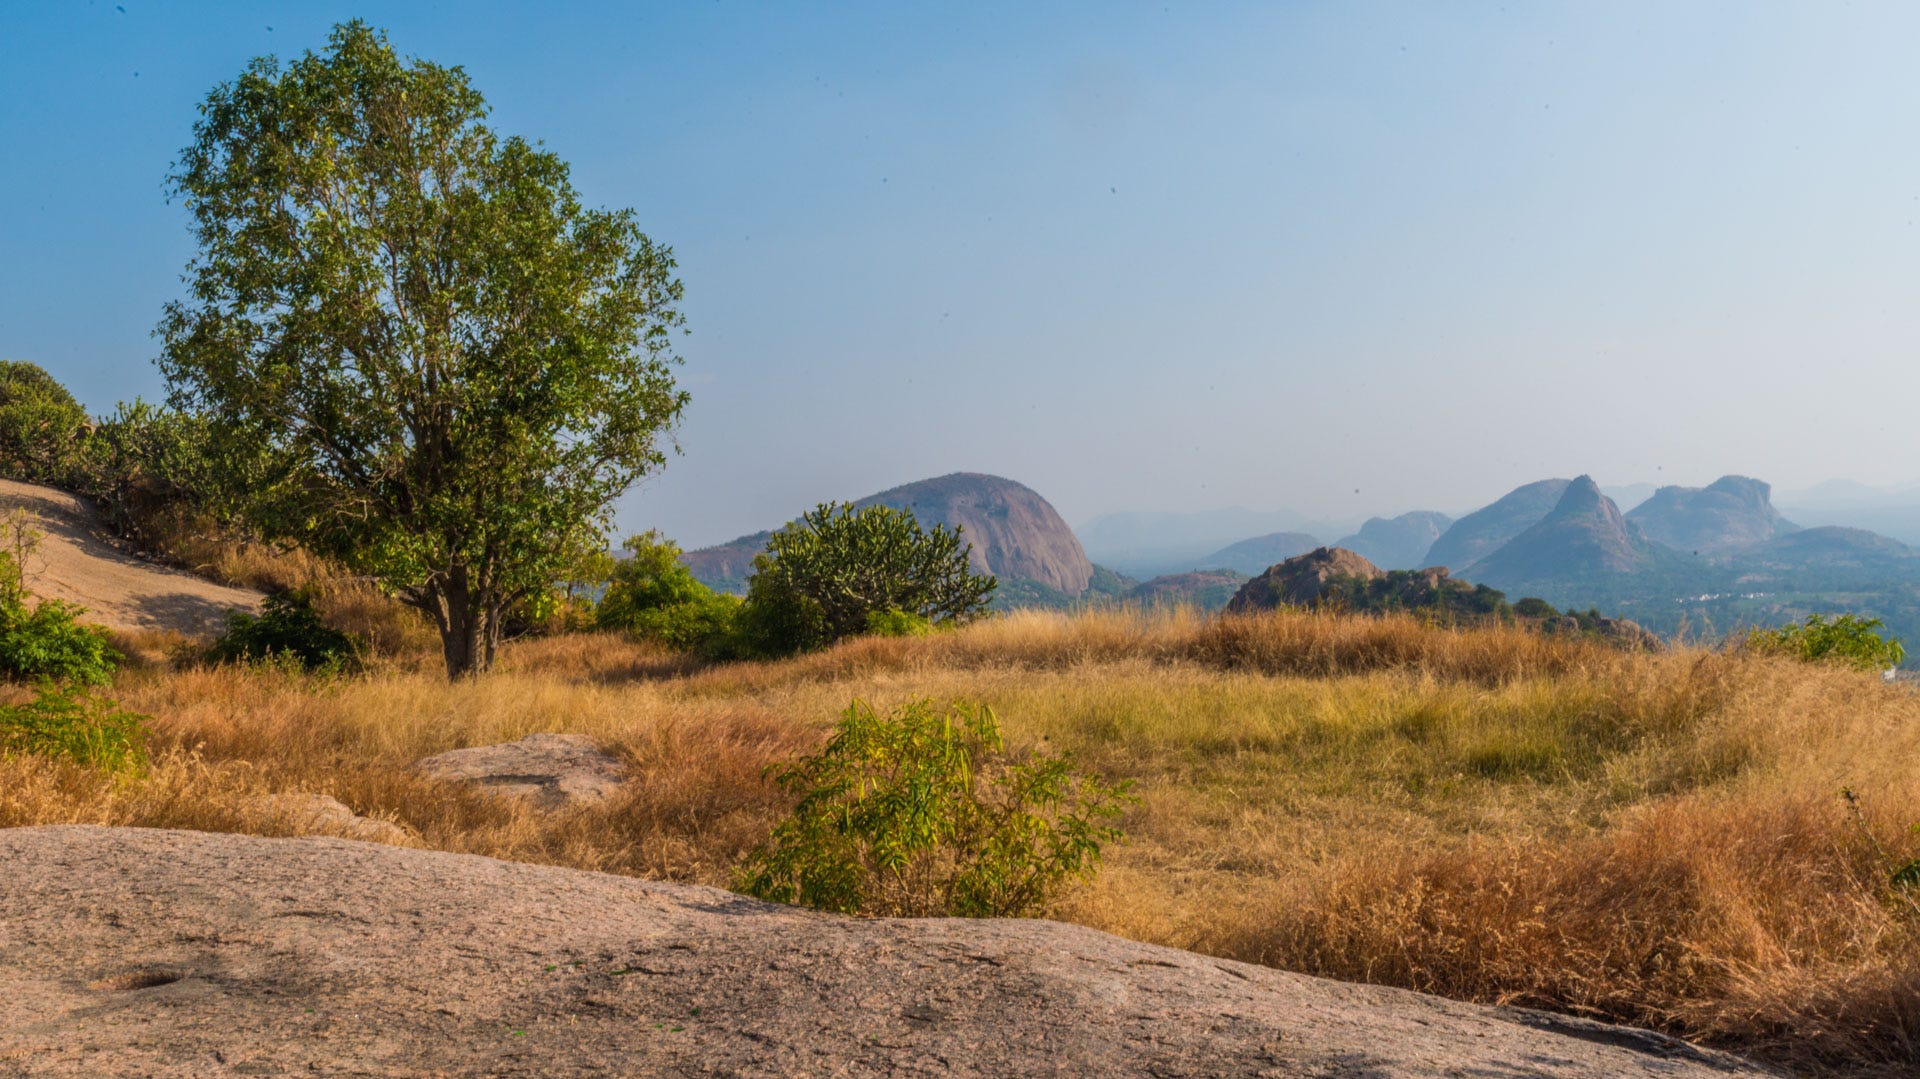
A landscape photograph should do more than show a scene—it should immerse the viewer in it. One of the hallmarks of a powerful landscape photo is its sharpness and detail, from the textures in the foreground to the distant mountain ridges.
If you've ever returned from a trip with photos that looked great in the viewfinder but turned out soft or slightly blurred, this guide is for you. Let's explore the tools, techniques, and mindset needed to capture razor-sharp and visually compelling landscape images.
🧠 Why Sharpness Matters
Sharpness isn't just about pixels—it's about visual impact, credibility, and aesthetic excellence. A well-detailed landscape draws the viewer in, makes them linger, and reflects the care and craftsmanship that went into creating the image.
Blurry or soft images often stem from minor technical errors that can easily be corrected with the proper knowledge.
🔑 1. Use a Tripod—Always
A sturdy tripod is your best friend for landscape photography. It eliminates camera shake and allows for:
Slower shutter speeds
Tighter apertures (like f/11 or f/16)
Composing with precision
Bracketing or exposure blending
Tip: Hang a bag or weight from the centre column of the tripod to add stability in windy conditions.
🔍 2. Focus Precisely
🔹 Use Manual Focus or Focus Magnification
Autofocus can miss fine details in wide scenes. Use manual focus and zoom in (digitally) on your LCD screen to check focus, especially on foreground subjects.
🔹 Focus One-Third on the Scene
A time-tested technique for maximising depth of field. On wide-angle lenses (e.g., 24mm), focusing one-third of the way into the frame balances foreground and background sharpness.
🔬 3. Choose the Right Aperture
The sweet spot for most lenses is f/8 to f/11. This ensures sufficient depth of field without the sharpness loss that occurs from diffraction at very high f-stops, such as f/22.
Use f/8 to f/11 for general scenes.
Use f/16 if you need more depth for very close foregrounds.
Please avoid f/22 and above unless you need to.
📏 4. ISO and Shutter Speed Considerations
To achieve sharp details, always use the lowest ISO setting possible, typically ISO 100 or ISO 200. High ISO settings introduce noise and reduce clarity.
Your shutter speed can be slow since your camera is on a tripod, but watch for moving elements like:
Water
Grass
Leaves
In such cases, aim for 1/30 sec or faster, or take multiple exposures.
📷 5. Use a Remote or Timer
Even the slightest press of a shutter button can introduce micro-vibrations. Use:
A remote shutter release
Your camera’s 2-second timer
Or Mirror Lock-Up on DSLRs
These reduce vibration at the moment the shutter opens.
☀️ 6. Shoot in the Right Light
Light makes all the difference in revealing detail. The best time to capture sharp, beautiful images?
Golden Hour (After sunrise & before sunset): Soft, directional light enhances textures
Blue Hour: Creates moody, evenly lit scenes
Avoid harsh midday light unless shooting black & white or dramatic shadows
🎯 7. Shoot in RAW Format
JPEGs compress your image and reduce sharpness/detail. RAW format retains maximum data, allowing:
Sharper final exports
Better highlight/shadow recovery
Finer control over contrast and clarity
🖥️ 8. Post-Processing for Sharpness
Even a well-shot image benefits from subtle sharpening:
Use Clarity, Texture, and Sharpening tools in Lightroom or Camera Raw.
Apply selective sharpening to the foreground and subject.
Avoid over-sharpening, which creates unnatural halos.
Also consider lens correction and chromatic aberration removal for the cleanest results.
🚫 Common Mistakes to Avoid
Using a cheap tripod that wobbles in the wind
Leaving image stabilisation (IS/VR) ON when on a tripod (can cause blur)
Focusing only on the background
Using high ISO in bright daylight
Applying excessive noise reduction in post
🌄 Final Thoughts
Sharp landscape photography is both a science and an art. It combines technique, patience, and careful execution. The more attention you pay to each element—focus, light, stability, and editing—the more your photos will stand out.
🚀 Join My Photography Community
If you found this guide helpful, I invite you to:
🎓 Subscribe to this blog for weekly posts on landscape, travel, and fine art photography
🖥️ Join my upcoming online classes where I share 40+ years of field-tested experience
📸 Explore photography as a lifelong creative pursuit—whether you're just starting or refining your artistic voice
Let’s capture the beauty of the world together—with clarity, confidence, and soul.
Warm regards,
Chidanand
Photographer | Visual Artist | Educator